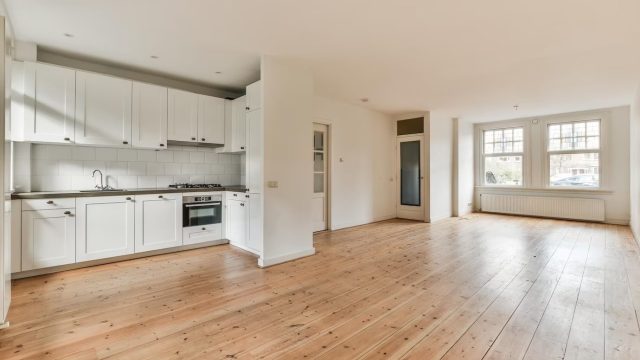
Hardwood floors add warmth and character to any home, but over time, they can become worn and lose their luster. Refinishing your hardwood floors can breathe new life into your space, and doing it yourself can be a rewarding project that saves money. Here’s how to achieve professional-looking results in five straightforward steps.
Step 1: Preparation and Safety
Empty the room completely, removing all furniture and floor coverings. Seal off the area with plastic sheeting to prevent dust from spreading to other parts of your home. Ensure good ventilation by opening windows and using fans.
Safety gear is non-negotiable. Wear a dust mask, safety goggles, and ear protection to shield yourself from dust and noise. Finally, inspect your floors for nails or staples that may damage your sanding equipment and remove them.
Step 2: Sanding the Floors
Rent a drum sander from your local hardware store, and purchase a variety of sandpaper grits. Start with a coarse grit (around 40-grit) for the initial pass, a medium grit (80-grit) for the second pass, and finish with a fine grit (120-grit).
Move the sander along the wood grain, never letting it sit in one spot to avoid uneven surfaces. The room’s edges will require a hand-held edge sander for those hard-to-reach spots.
Step 3: Cleaning Up
After sanding, your floors will be covered in a fine layer of dust that must be removed before applying the finish. First, vacuum the floor thoroughly with a brush attachment to avoid scratching the wood. Follow up with a microfiber mop or tack cloth to pick up any remaining dust.
Step 4: Applying the Finish
Selecting the right finish for your floors depends on your preference and the type of wood. Polyurethane finishes are popular for their durability and ease of application, available in both water-based and oil-based formulas. Water-based polyurethane dries quickly and has a lower odor, while oil-based polyurethane has a longer drying time but adds warmth to the wood’s color.
Apply the finish using a high-quality brush or a lambswool applicator, following the grain of the wood. Start at the corner farthest from the door and work your way towards the exit. Apply at least two coats, sanding lightly between coats with fine-grit sandpaper (220-grit) to ensure a smooth finish. Follow the manufacturer’s instructions for drying times between coats.
Step 5: The Final Touches
If necessary, lightly sand these imperfections with fine-grit sandpaper and touch up with a small amount of finish. Once you’re satisfied with your floors, allow 24 to 48 hours for the finish to cure before moving furniture back into the room.
Avoid placing rugs or mats on the floors for at least two weeks to allow the finish to harden fully. Regular maintenance, including sweeping, vacuuming, and occasional damp mopping with a wood floor cleaner, will keep your floors looking beautiful for years to come.
Bring Back the Shine
Refinishing your hardwood floors is a significant undertaking, but the results can transform your home, restoring beauty and value. By following these steps carefully and taking your time, you can achieve a professional-looking finish you’ll be proud of. Not only will you save money by doing it yourself, but you’ll also gain the satisfaction of revitalizing your home with your own two hands. Remember, preparation and patience are key to achieving a flawless finish that will bring back the shine to your hardwood floors.
